How to Install the Jekyll Theme Chirpy on GitHub
Jekyll’s Chirpy theme is one of the most popular themes for GitHub Pages, offering a clean, modern design with built-in features like dark mode, search functionality, and a responsive layout. This guide will walk you through the complete installation process.
Prerequisites
Before you begin, make sure you have:
- A GitHub account
- Microsoft Visual Studio Code
Installation Steps
Step 1: Create Your Repository
- Visit the Chirpy Starter repository
- Click the green “Use this template” button
- Name your repository
username.github.io(replaceusernamewith your actual GitHub username) - Set the repository to Public
- Click “Create repository from template”
Note: After creating your repository from the template, you may see a build failure in GitHub Actions like the one shown below. This is expected and will be resolved once you commit and push your configuration changes in Step 2.
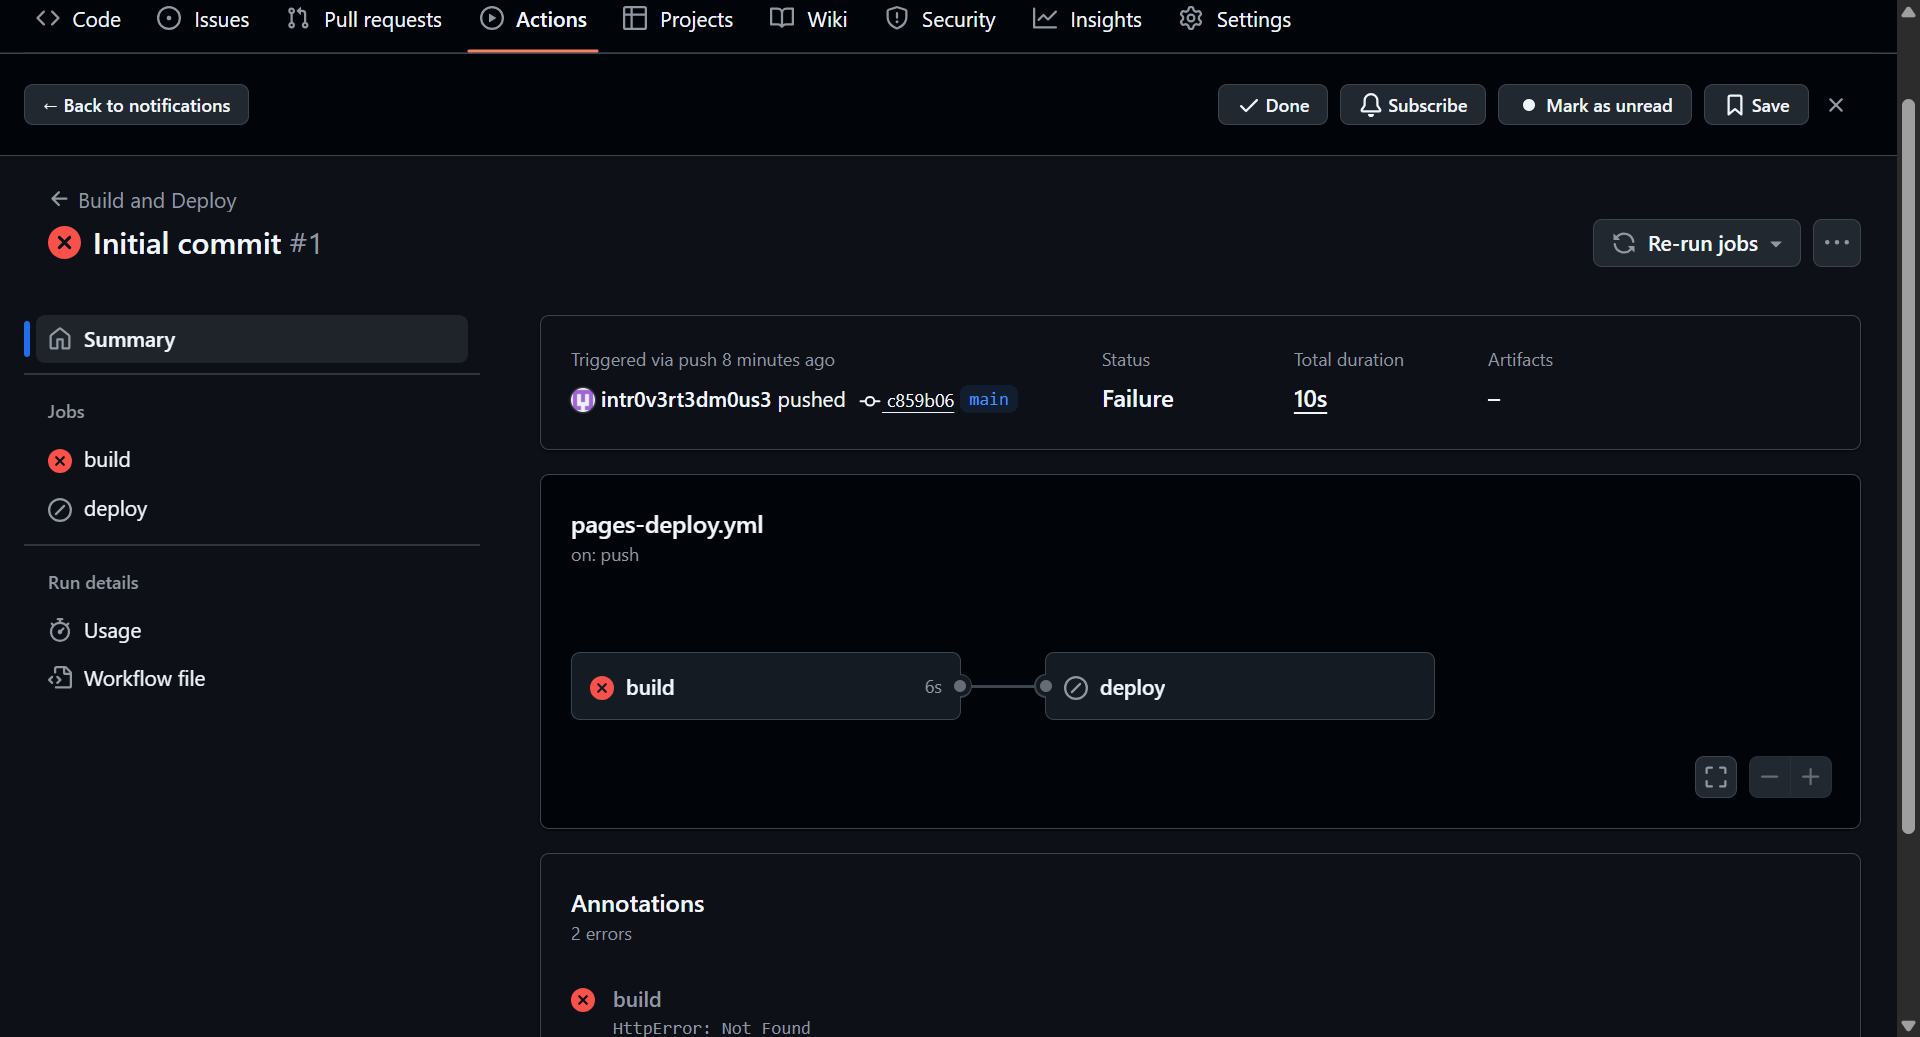
The initial commit may fail, but your configuration commit will fix this error.
Step 2: Configure Your Site
- Open your repository in Microsoft Visual Studio Code
- Locate and open the
_config.ymlfile - Update the key settings to customize your site:
1
2
3
4
5
6
7
8
9
10
11
12
13
14
title: Your Site Title
tagline: A short description of your site
description: A longer description for SEO
url: 'https://username.github.io'
github:
  username: your-github-username
twitter:
  username: your-twitter-username
social:
  name: Your Name
  email: your-email@example.com
  links:
    - https://twitter.com/your-twitter-username
    - https://github.com/your-github-username
- Save your changes
- In Microsoft Visual Studio Code, go to the Source Control panel (Ctrl+Shift+G or Cmd+Shift+G)
- Stage your changes by clicking the + icon next to
_config.yml - Enter a commit message like “Update site configuration”
- Click the Commit button
- Click Sync Changes or Push to upload your changes to GitHub
Step 3: Configure GitHub Pages
- Go to your repository on GitHub
- Click on Settings → Pages
- Under “Build and deployment”, set:
- Source: GitHub Actions
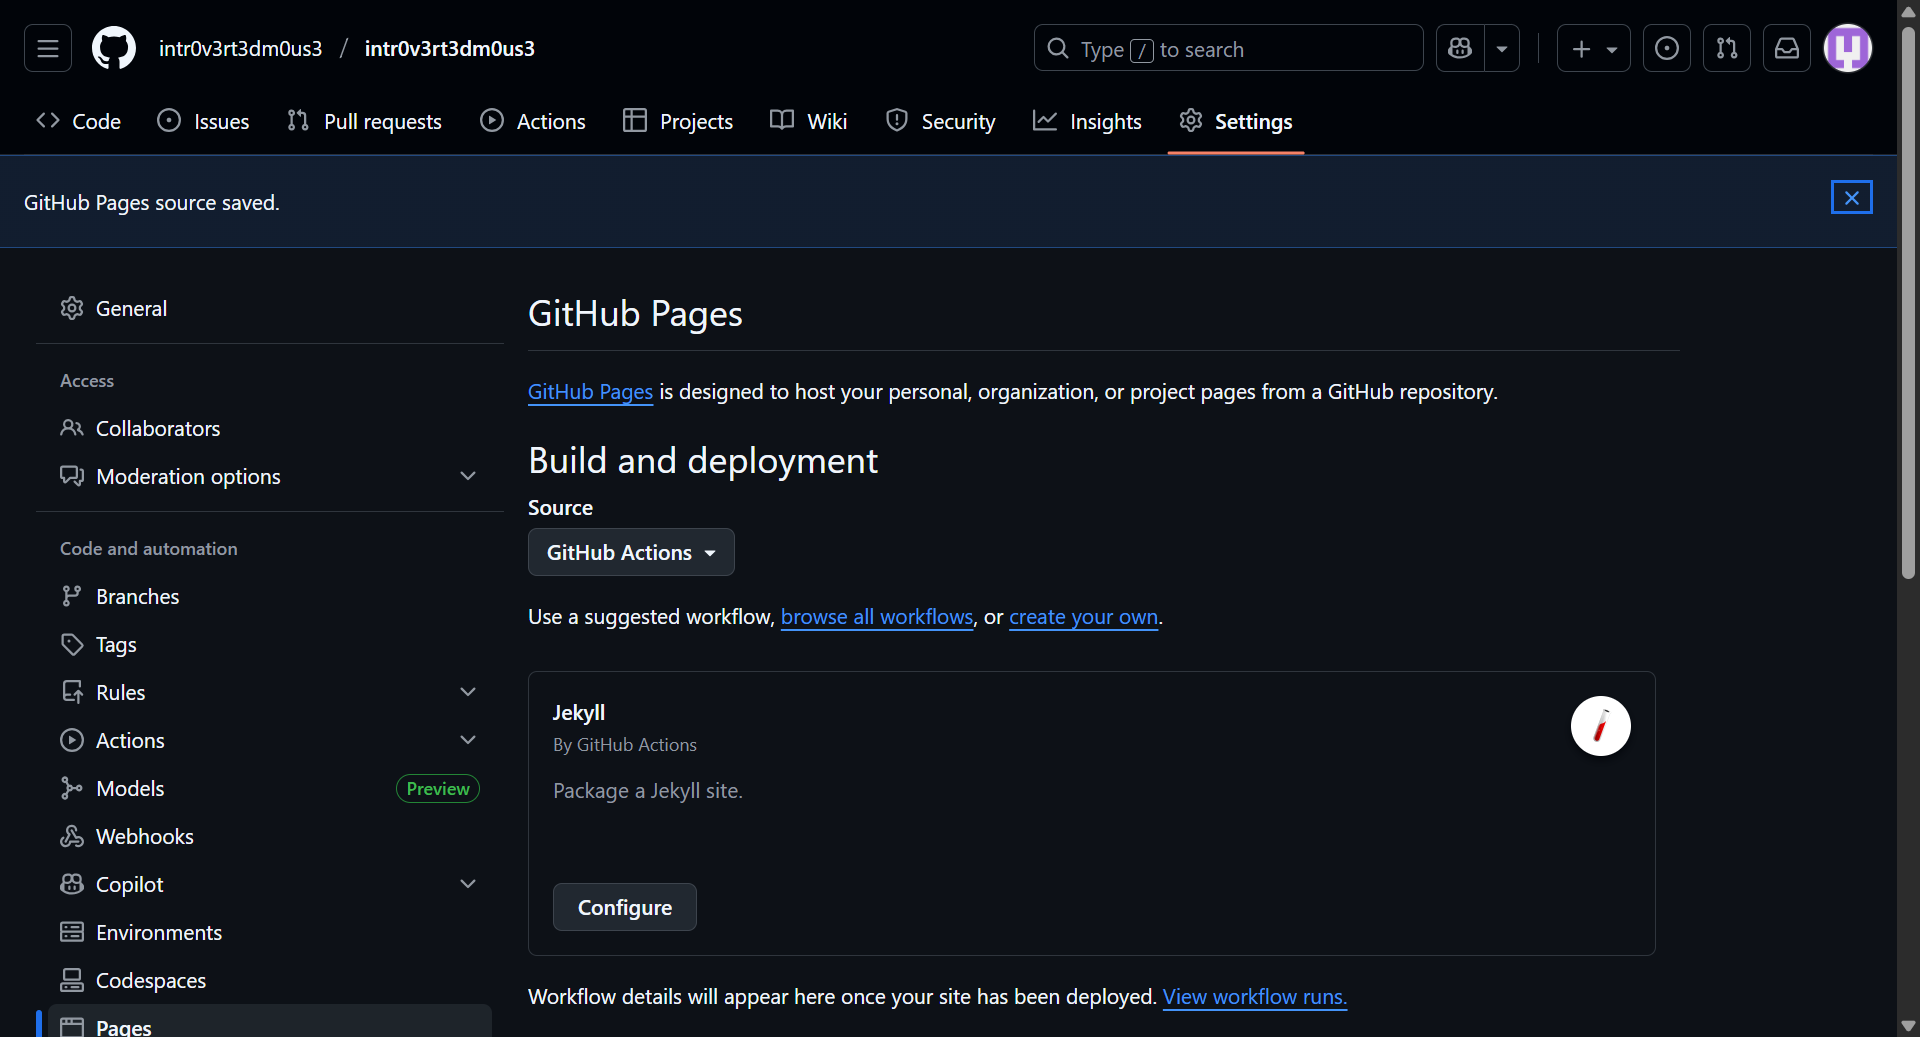
Select “GitHub Actions” as your source under Build and deployment
- The theme includes a GitHub Actions workflow that will automatically build and deploy your site
Your site should be live at https://username.github.io within a few minutes!
Conclusion
You now have a beautiful, feature-rich blog running on GitHub Pages with the Chirpy theme! The theme offers excellent documentation, and you can customize it extensively to match your needs. Start writing posts, experiment with the features, and make it your own.
For more advanced customization options, check out the official Chirpy documentation.
Happy blogging!